- Econ Post
- Hot Products
- RapidLock - The New Swageless System
- Blinds & Awnings
- Catenary Lighting
- Fasteners
-
General Hardware
- Fasteners
- Fixing Plates
- Shackles
- Stainless Steel Chain
- Cleaning & Protection
- Hinges
- Eye Bolts
- Eye Nuts
- Cafe Blind Anchor Housing
- Blind and Awning
- Flush Ring Pulls
- Guy Wire Kit
- U Bolts
- Hooks & Snaps
- Links
- Lockwire
- Mame Blocks
- Pulley Blocks
- Rings
- Ropes
- Rigging Screw /Bottlescrew
- Screw Eyes
- Sheaves, Nylon Pulley Wheels
- Stayput Fittings
- Swage Sleeves & Wire Ferrules
- Swage Terminals
- Thimbles
- Threaded Rod
- Toggle Bolts
- Turnbuckles
- Wall Plates
- Wire Rope Grips
- Glass Balustrade
- Green Wall
- Marine
- Handrail
- Height Safety
- Kits
- Posts
- Shade Sail
- Tools
-
Wire Balustrade
- Architectural Ball
- Bevelled Washers
- Blind Nut Rivets/Nutserts
- Clean, Protect & Polish
- Eye Bolts
- Grommets
- Hex Head Tensioners
- Lag Screws
- Net Clip
- Balustrade Kits
- Rigging Screw/Bottlescrew
- Saddles/Eye Straps
- Screw Eyes
- Swage Sleeves/Ferrules
- Swage Terminals
- Stainless Steel Balustrade
- Thimbles
- Stainless Steel Wire Balustrade
- Threaded Forks
- Threaded Inserts
- Vertical Wire Balustrade
- Turnbuckles
-
Wire Balustrade Systems
- Blue Wave Swageless System For Metal Posts
- Blue Wave Swageless System For Timber Posts
- Econ Easy Angle System For Timber Posts - Stairs
- Econ Insert Swage Stud System For Timber Posts
- Econ Jaw Swage Bottlescrew System for Metal Posts
- Econ Jaw Swage Bottlescrew System for Timber Posts
- Econ Lag Screw Swage System
- Econ Lag Swage Bottlescrew System
- Econ Nutsert Swage Stud System For Metal Posts
- Econ Nutsert Swage Stud System For Metal Posts - Stairs
- ProRig Insert Swage Stud System
- ProRig Insert Swage Stud System For Timber Stairs
- ProRig Insert Tension Rod System (requires a swaging tool)
- ProRig Jaw Swage Bottlescrew System for Metal Posts
- ProRig Jaw Swage Bottlescrew System for Timber Posts
- ProRig Jaw Swage Bottlescrew System with Flip Toggle
- ProRig Jaw Swage Bottlescrew System With Saddles - Metal Posts
- ProRig Jaw Swage Bottlescrew System With Saddles - Timber Posts
- ProRig Nutsert Swage Stud System
- ProRig Nutsert Swage Stud System - Stairs
- ProRig Nutsert Tension Rod System (requires a swaging tool)
- ProRig Quick Lock System
- Standard DIY System for Metal Posts
- Standard DIY System for Timber Posts
- Tensioner Swage Stud System
- Tensioner Swage Stud System with Flip Toggle
- Wire Rope
- New Arrivals
- Specials
Your shopping cart is empty!
Insert Swage Stud System For Timber Posts
- Product Code: Kit-INSS
- Availability: In Stock
OverView
Insert Swage Stud System For Timber PostsThe Insert Swage Stud System is one of our most popular balustrade systems for timber posts. Its streamline finish and simple installation made is prefect for the DIY handyman o...Package contains
Available Options
Below are optional accessories that are suitable for use with this product
If you would like any of these accessories, enter desired quantities here, then click ADD TO CART button below
- Grand total (including added accessories):
- Grand total (Ex Tax):
Insert Swage Stud System For Timber Posts
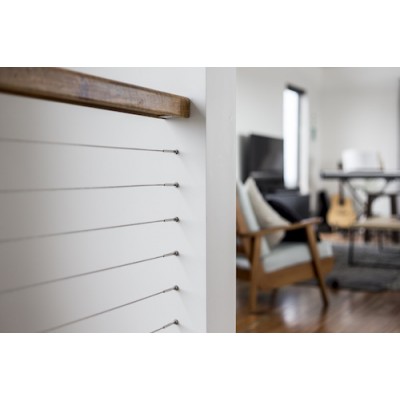
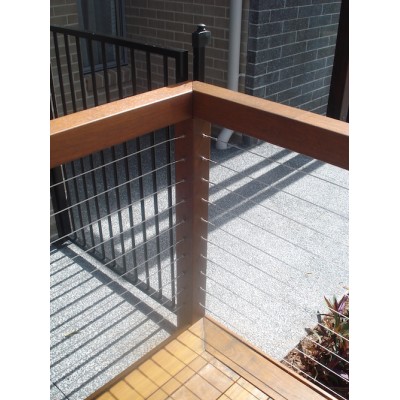
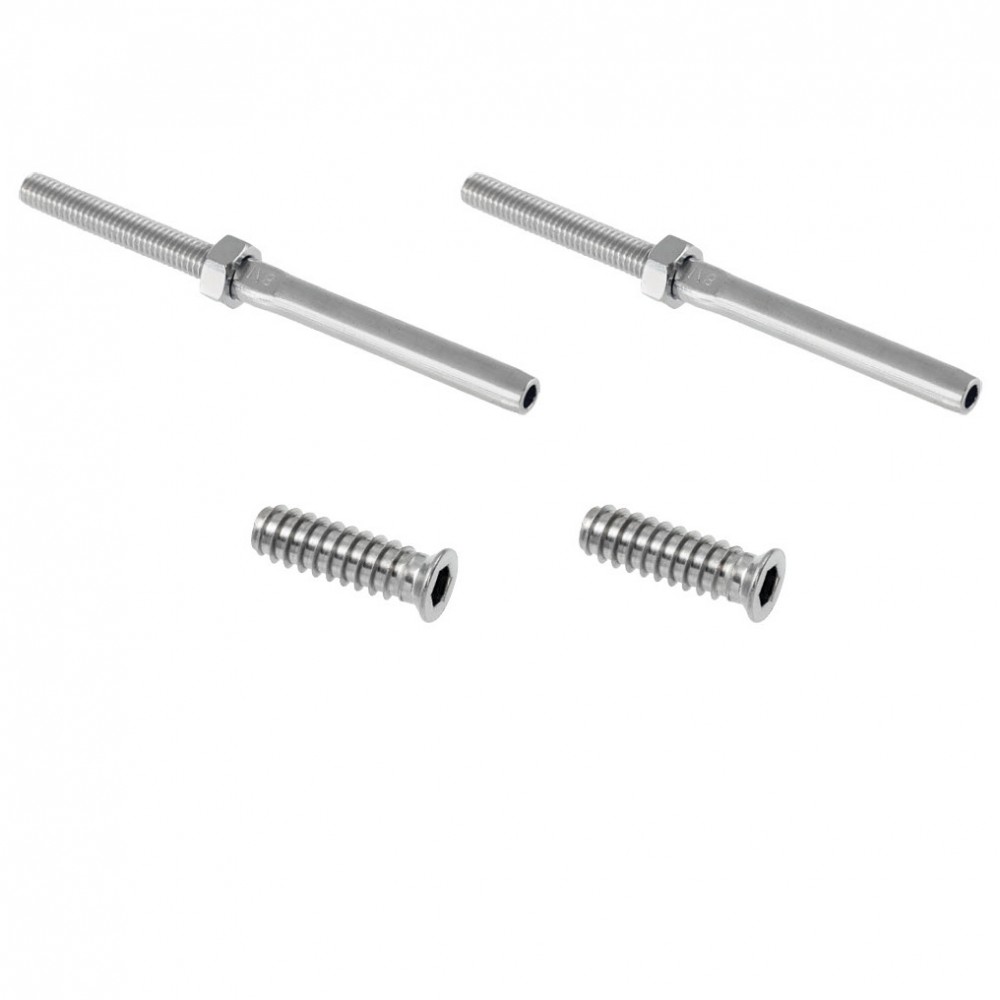
The Insert Swage Stud System is one of our most popular balustrade systems for timber posts. Its streamline finish and simple installation made is prefect for the DIY handyman or the experienced home or deck builder.
This system requires that the fittings be hydraulically swaged to the wires, which our in-house fabrication department can provide.
SYSTEM ITEMS:
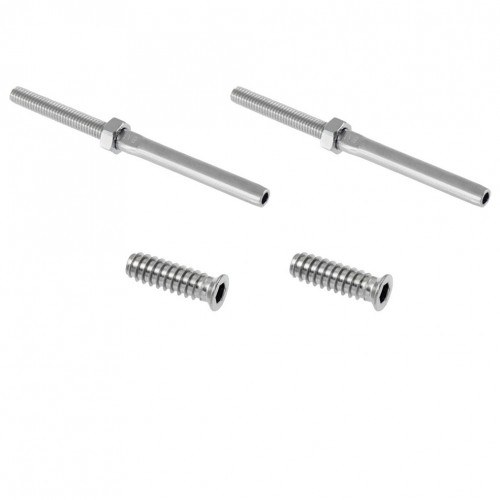
1 X M6 Threaded insert RHT
1 x M6 Threaded insert LHT
1 x M6 Swage stud RHT
1 x M6 Swage stud LHT
PLEASE ADD THE TOTAL LINEAL METRES OF WIRE REQUIRED IN THE ACCESSORIES AREA ABOVE.
IF YOU REQUIRE ENDS AND FITTINGS TO BE SWAGE PLEASE INCLUDE FACTORY SWAGING FOR EACH OF THE WIRE ABOVE.
ALSO INCLUDE YOUR INSIDE POST TO INSIDE POST MEASUREMENTS ABOVE.
Need help? Use our online balustrade builder calculator. Watch instructional video in Related Videos tab to the left.
How To Install Balustrade System
After providing Miami Stainless with your inside to inside post measurements (picture) and receiving your hydraulically swaged wires, you can begin by pre-drilling 7.5mm holes into your end and intermediate posts. To learn how to make a template for drilling holes visit the resource section at miamistainless.com.au.
Use a 6mm hex drive bit to screw in the threaded inserts ensuring left hand inserts are in the left hand post and right hand inserts are in the right hand post.
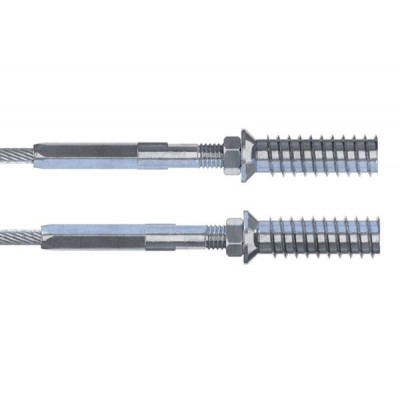
Insert the right hand swage stud into the right hand threaded insert just enough for it to hold. Pass the opposite end of the wire through any intermediate posts and repeat with the left hand post.
Tension both ends of the wire evenly using a ProRig c-spanner then lock in place by tightening the hex nut.
Repeat until all of your sections are complete.
To view our how to video or find out more about this product view our dedicated Insert Swage Stud System page.


