- Econ Post
- Hot Products
- RapidLock - The New Swageless System
- Blinds & Awnings
- Catenary Lighting
- Fasteners
-
General Hardware
- Fasteners
- Fixing Plates
- Shackles
- Stainless Steel Chain
- Cleaning & Protection
- Hinges
- Eye Bolts
- Eye Nuts
- Cafe Blind Anchor Housing
- Blind and Awning
- Flush Ring Pulls
- Guy Wire Kit
- U Bolts
- Hooks & Snaps
- Links
- Lockwire
- Mame Blocks
- Pulley Blocks
- Rings
- Ropes
- Rigging Screw /Bottlescrew
- Screw Eyes
- Sheaves, Nylon Pulley Wheels
- Stayput Fittings
- Swage Sleeves & Wire Ferrules
- Swage Terminals
- Thimbles
- Threaded Rod
- Toggle Bolts
- Turnbuckles
- Wall Plates
- Wire Rope Grips
- Glass Balustrade
- Green Wall
- Marine
- Handrail
- Height Safety
- Kits
- Posts
- Shade Sail
- Tools
-
Wire Balustrade
- Architectural Ball
- Bevelled Washers
- Blind Nut Rivets/Nutserts
- Clean, Protect & Polish
- Eye Bolts
- Grommets
- Hex Head Tensioners
- Lag Screws
- Net Clip
- Balustrade Kits
- Rigging Screw/Bottlescrew
- Saddles/Eye Straps
- Screw Eyes
- Swage Sleeves/Ferrules
- Swage Terminals
- Stainless Steel Balustrade
- Thimbles
- Stainless Steel Wire Balustrade
- Threaded Forks
- Threaded Inserts
- Vertical Wire Balustrade
- Turnbuckles
-
Wire Balustrade Systems
- Blue Wave Swageless System For Metal Posts
- Blue Wave Swageless System For Timber Posts
- Econ Easy Angle System For Timber Posts - Stairs
- Econ Insert Swage Stud System For Timber Posts
- Econ Jaw Swage Bottlescrew System for Metal Posts
- Econ Jaw Swage Bottlescrew System for Timber Posts
- Econ Lag Screw Swage System
- Econ Lag Swage Bottlescrew System
- Econ Nutsert Swage Stud System For Metal Posts
- Econ Nutsert Swage Stud System For Metal Posts - Stairs
- ProRig Insert Swage Stud System
- ProRig Insert Swage Stud System For Timber Stairs
- ProRig Insert Tension Rod System (requires a swaging tool)
- ProRig Jaw Swage Bottlescrew System for Metal Posts
- ProRig Jaw Swage Bottlescrew System for Timber Posts
- ProRig Jaw Swage Bottlescrew System with Flip Toggle
- ProRig Jaw Swage Bottlescrew System With Saddles - Metal Posts
- ProRig Jaw Swage Bottlescrew System With Saddles - Timber Posts
- ProRig Nutsert Swage Stud System
- ProRig Nutsert Swage Stud System - Stairs
- ProRig Nutsert Tension Rod System (requires a swaging tool)
- ProRig Quick Lock System
- Standard DIY System for Metal Posts
- Standard DIY System for Timber Posts
- Tensioner Swage Stud System
- Tensioner Swage Stud System with Flip Toggle
- Wire Rope
- New Arrivals
- Specials
Your shopping cart is empty!
DIY Balustrade System For Metal Posts
- Brand: ProRig Brand - Miami Stainless
- Product Code: Kit-DIY-Metal-PR
- Availability: In Stock
OverView
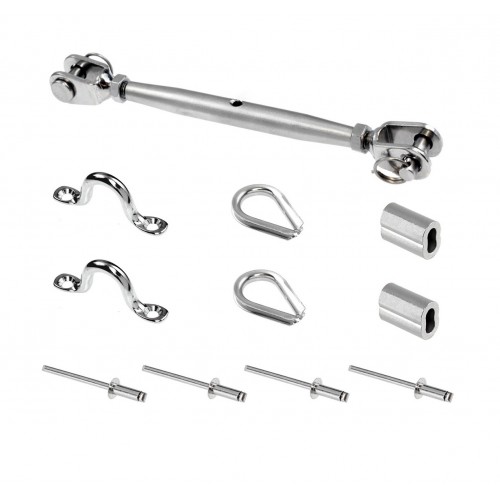
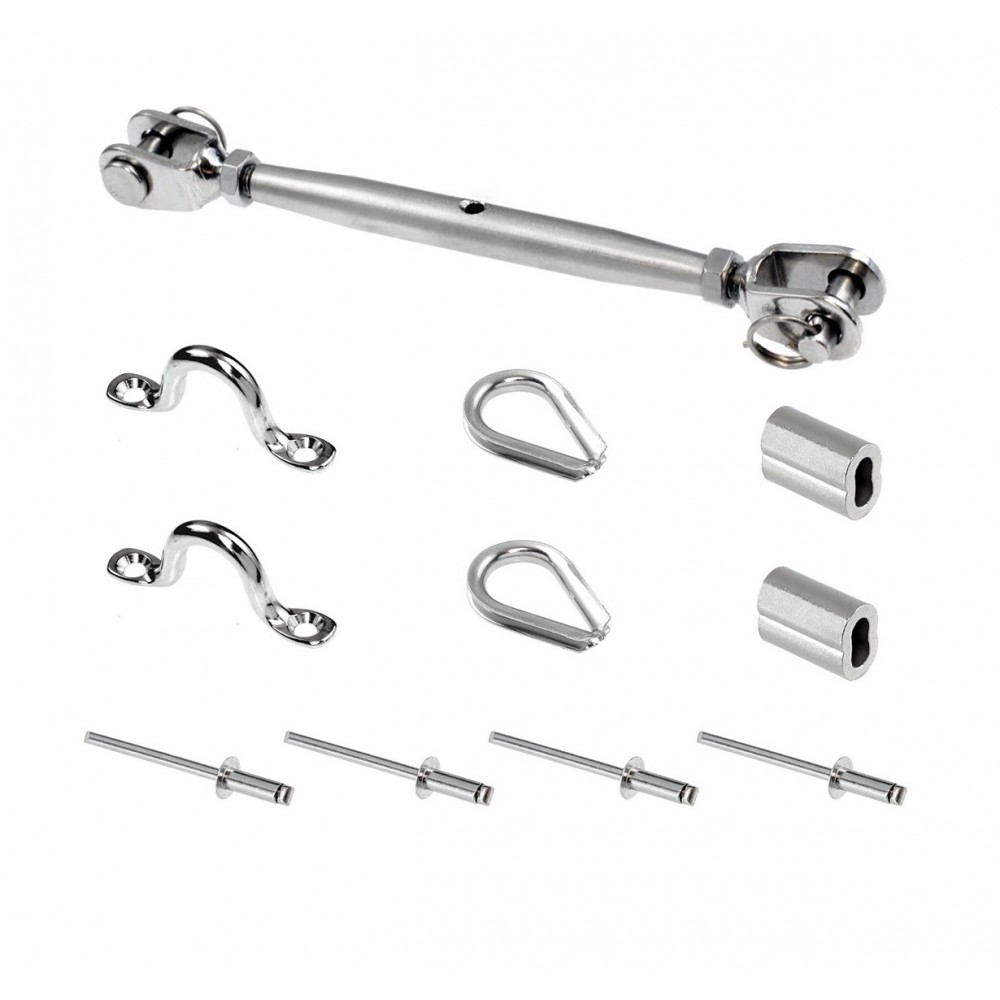
DIY Wire Balustrade Kit For Metal PostsPackage contains
Below are optional accessories that are suitable for use with this product
If you would like any of these accessories, enter desired quantities here, then click ADD TO CART button below
- Grand total (including added accessories):
- Grand total (Ex Tax):
DIY Wire Balustrade Kit For Metal Posts
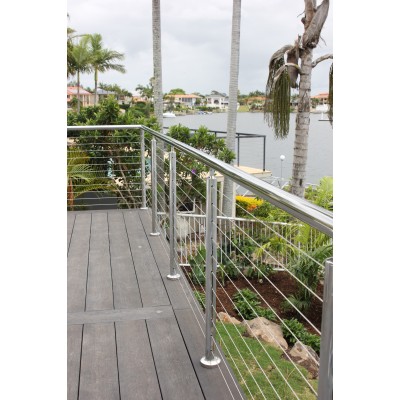
The Standard DIY Wire Balustrade Kit suits straight and angled sections using metal posts and is a true do-it-yourself kit supplied with stainless steel fittings and wire rope for installation on-site. Although this system has a much more involved and time consuming installation process, it is ideal for those on a strict budget.
Wire and tools need to be purchased separately, see above.
This kit includes:
4 x 4mm Rivets
2 x 5mm Saddles
1 x M5 Bottlescrew Jaw/Jaw
2 x 3.2mm Thimbles
2 x 3.2mm Swage Sleeves
Order 1 kit per wire run required. WIRE TO BE PURCHASED SEPARATELY OR VIA THE ACCESSORIES OPTIONS ABOVE
How To Install Balustrade System
1 - Mark and drill all 4mm holes at the required spacing.
2 - Slide one end of your wire through a swage sleeve and guide it around your thimble. Complete the loop by inserting the end of the wire back through the swage sleeve, leaving 2mm of protruding wire. Swage the swage sleeve two times spaced slightly apart using the HS-14CR tool on setting 3.
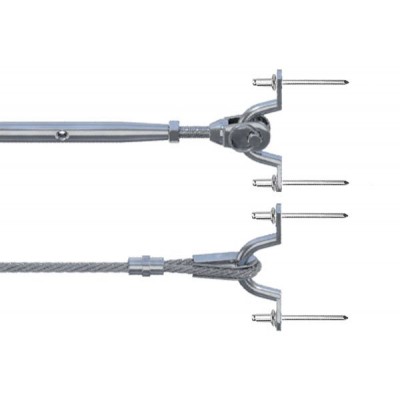
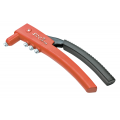
3 - Insert a saddle through your loop and mount to your end post using the rivets provided. A pop rivet tool is required to insert rivets. With the saddle and wire fixed to your end post, pull the wire straight to the inside face of the opposite end post and cut the wire 100mm shorter. Pass the wire through your pre-drilled intermediate posts and create a loop as per step 2.
4 - Attach a saddle to the opposite end post using timber screws. Remove the pins from both ends of your bottlescrew by unattaching both rings. Attach one end of the bottlescrew to the loop in your wire and the opposite end to mounted saddle, reinsert pins and rings. Adjust tension on the wire by screwing or unscrewing the middle section of the bottlescrew using a ProRig Multi Tool
5 - Lock hex nuts against the body of the bottlescrew to lock the system into place once correct tension is achieved. For accurate and consistent tension you will require a tension gauge, however you can measure the tension by a deflection test.
To view our how to video or find out more about this product view our dedicated DIY System For Metal Posts page.


