- Econ Post
- Hot Products
- RapidLock - The New Swageless System
- Blinds & Awnings
- Catenary Lighting
- Fasteners
-
General Hardware
- Fasteners
- Fixing Plates
- Shackles
- Stainless Steel Chain
- Cleaning & Protection
- Hinges
- Eye Bolts
- Eye Nuts
- Cafe Blind Anchor Housing
- Blind and Awning
- Flush Ring Pulls
- Guy Wire Kit
- U Bolts
- Hooks & Snaps
- Links
- Lockwire
- Mame Blocks
- Pulley Blocks
- Rings
- Ropes
- Rigging Screw /Bottlescrew
- Screw Eyes
- Sheaves, Nylon Pulley Wheels
- Stayput Fittings
- Swage Sleeves & Wire Ferrules
- Swage Terminals
- Thimbles
- Threaded Rod
- Toggle Bolts
- Turnbuckles
- Wall Plates
- Wire Rope Grips
- Glass Balustrade
- Green Wall
- Marine
- Handrail
- Height Safety
- Kits
- Posts
- Shade Sail
- Tools
-
Wire Balustrade
- Architectural Ball
- Bevelled Washers
- Blind Nut Rivets/Nutserts
- Clean, Protect & Polish
- Eye Bolts
- Grommets
- Hex Head Tensioners
- Lag Screws
- Net Clip
- Balustrade Kits
- Rigging Screw/Bottlescrew
- Saddles/Eye Straps
- Screw Eyes
- Swage Sleeves/Ferrules
- Swage Terminals
- Stainless Steel Balustrade
- Thimbles
- Stainless Steel Wire Balustrade
- Threaded Forks
- Threaded Inserts
- Vertical Wire Balustrade
- Turnbuckles
-
Wire Balustrade Systems
- Blue Wave Swageless System For Metal Posts
- Blue Wave Swageless System For Timber Posts
- Econ Easy Angle System For Timber Posts - Stairs
- Econ Insert Swage Stud System For Timber Posts
- Econ Jaw Swage Bottlescrew System for Metal Posts
- Econ Jaw Swage Bottlescrew System for Timber Posts
- Econ Lag Screw Swage System
- Econ Lag Swage Bottlescrew System
- Econ Nutsert Swage Stud System For Metal Posts
- ProRig Insert Swage Stud System
- ProRig Insert Swage Stud System For Timber Stairs
- ProRig Insert Tension Rod System (requires a swaging tool)
- ProRig Jaw Swage Bottlescrew System for Metal Posts
- ProRig Jaw Swage Bottlescrew System for Timber Posts
- ProRig Jaw Swage Bottlescrew System with Flip Toggle
- ProRig Jaw Swage Bottlescrew System With Saddles - Metal Posts
- ProRig Jaw Swage Bottlescrew System With Saddles - Timber Posts
- ProRig Nutsert Swage Stud System
- ProRig Nutsert Swage Stud System - Stairs
- ProRig Nutsert Tension Rod System (requires a swaging tool)
- ProRig Quick Lock System
- Standard DIY System for Metal Posts
- Standard DIY System for Timber Posts
- Tensioner Swage Stud System
- Tensioner Swage Stud System with Flip Toggle
- Wire Rope
- New Arrivals
- Specials
Your shopping cart is empty!
Jaw Swage Bottlescrew System for Metal Posts
- Product Code: Kit-JSBS-Metal
- Availability: In Stock
OverView
Our Jaw Swage Bottlescrew System is one of our most popular streamline stainless steel wire balustrade systems for stair or angled sections...Available Options
Below are optional accessories that are suitable for use with this product
If you would like any of these accessories, enter desired quantities here, then click ADD TO CART button below
- Grand total (including added accessories):
- Grand total (Ex Tax):
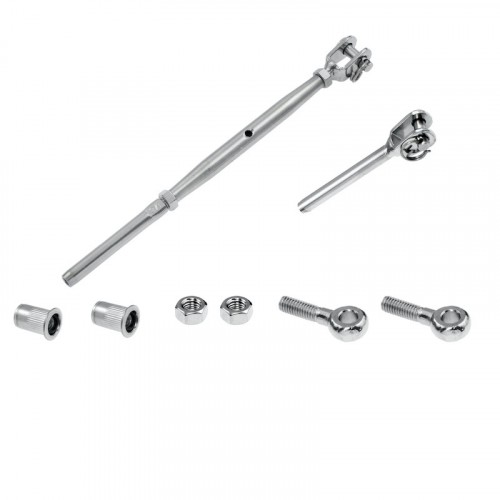
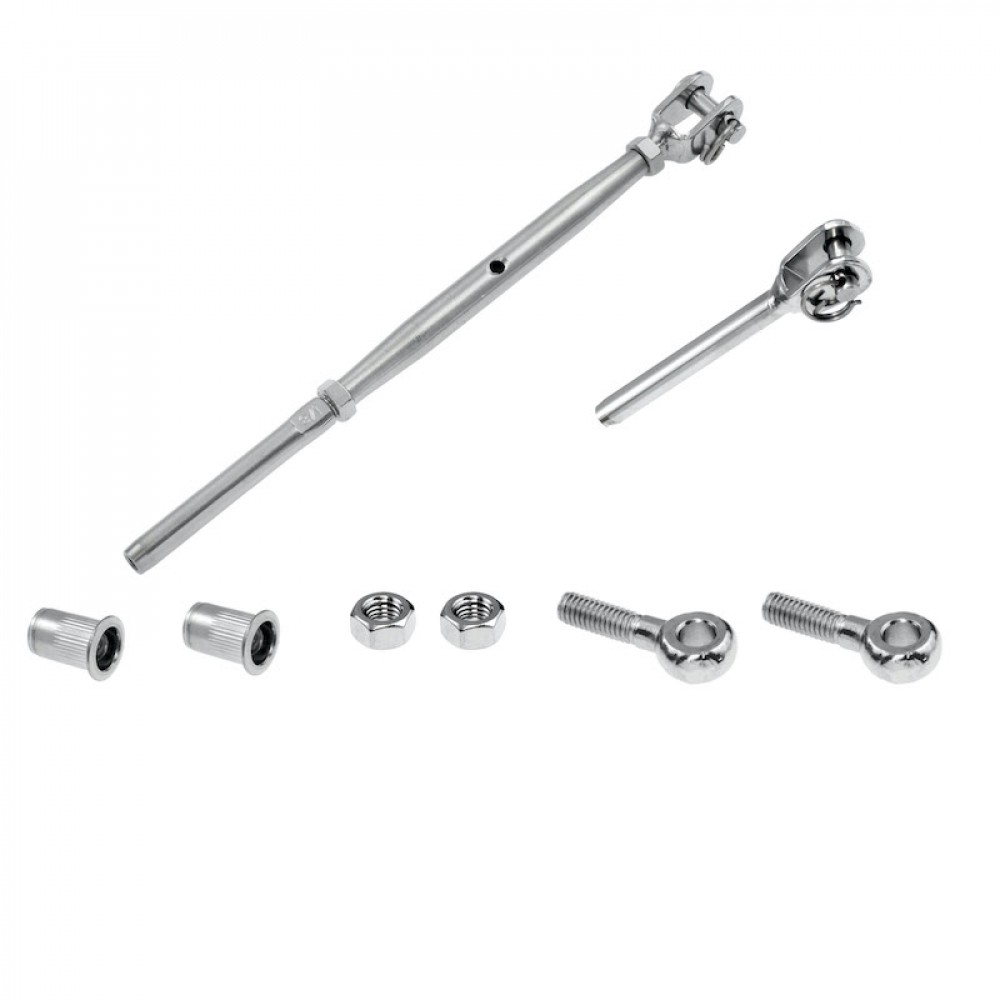
Our Jaw Swage Bottlescrew System is one of our most popular streamline stainless steel wire balustrade systems for stair or angled sections. Available to suit both timber and metal posts, the Jaw Swage Bottlescrew System is perfect for high use areas where children, pets or guests may pull on the wires. To install the Jaw Swage Bottlescrew System into metal posts simply insert the right hand threaded and Blind Nut Rivets, or Nutserts, into your metal posts, screw in the Eye Bolts, attach the pre-swaged fittings at the end of each wire by siding the pin through the Eye Bolt and create tension by rotating the Bottlescrew using a ProRig C-Spanner.
This kit includes:
2 x Blind Nut Rivet Righthand Thread
2 x Eye Bolt M6
1 x M5 Bottlescrew Jaw/Swage
1 x 3.2mm Fork Terminal
2 x M6 Nut
Order 1 kit per wire run required.
WIRE TO BE PURCHASED SEPARATELY OR VIA THE ACCESSORIES OPTIONS ABOVE.
IF YOU REQUIRE FACTORY SWAGING PLEASE ADD 2 FACTORY SWAGES TO EACH WIRE RUN IN THE ACCESSORIES SECTION ABOVE AND GIVE INSIDE TO INSIDE POST MEASUREMENTS IN CUSTOM POST DETAILS BOX ABOVE.
How To Install Balustrade System
1. Mark out and pre-drill all holes at the required size and spacing. Drill 6mm holes on the inside face of the post that will receive the flip toggle and a 10mm hole on the opposite end post that will receive the blind nut rivets and eye bolts. Drill 7.5mm holes in all intermediate posts.
2. Using an HN-02 Nut Rivet Tool insert a blind nut rivet into the 10mm hole and screw an eye bolt into the rivet.
3. Insert the flip toggle and swage terminal into the 6mm pre-drilled hole. Pull the wire to flip the toggle and lock the wire into place.
4. Remove the bottlescrew from the swage stud on the opposite end of the wire and pass through any intermediate posts. Reattach the bottlescrew and unscrew the body so that approximately 20mm is showing on both the left and right threads. This will allow you to remove the pin and place the bottlescrew on your eye bolt. If this is still not long enough, simply unscrew the bottlescrew more. Re-attach all the pins to lock in fittings.
5. With all your wires now attached you will be required to tension them. To tighten them simply turn your bottlescrew. This can be easily achieved using a ProRig Multi Tool. For accurate and consistent tension you will require a tension gauge, however you can measure the tension by a deflection test.


